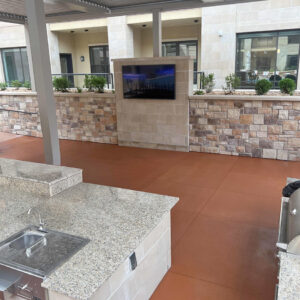
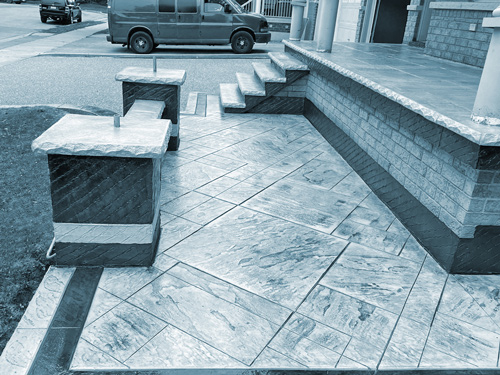
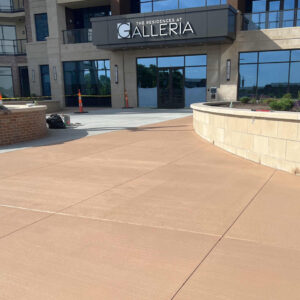
Acryl Pen is a pigmented silane sealer, ideal for porous or textured exterior concrete. The decorative coating not only beautifies concrete, but also protects the surface and allows for vapor transmission. Follow these Top 10 Tips – compiled from frequently asked questions and real customer applications – to get the most from your Acryl Pen application.
1. It’s all about texture.
Acryl Pen is designed for use on broom- or float-finished surfaces. Using it on a smooth, tightly- troweled surface can lead to adhesion failure, so make sure the concrete you’re planning on treating is textured and porous.
2. See for yourself.
Though color charts and brochures are a reliable way to get an idea of what an Acryl Pen stain will look like, the base color of the concrete will affect the final result. The best way to be sure of the final color is by doing your own mock up. Applying Acryl Pen to a 12 x 12 inch area lets you determine not only the final color, but also the appropriate application rate and time required to properly penetrate and coat the surface.
3. Prepare your surface.
Acryl Pen contains chemically reactive silanes that provide water repellency. These silanes need an open surface for proper penetration, so any debris remaining on the surface could impede penetration and cause a failed application. Use Nox-Crete’s Bio-Clean to remove dirt, oil, debris, dust, grease, curing compounds or paint and use Nox-Crete’s Deco-Strip or Deco-Peel to remove any acrylic sealers or coatings before applying Acryl Pen.
4. Wait for a dry surface and cool temperature.
Before applying, allow the prepared surface 48 hours to dry after cleaning. Applying in the proper temperature is also essential. Substrates should be between 40° F and 90° F. Best results are obtained if applied at low sun angles, so avoid applying at peak sunlight or in extreme temperatures.
5. It’s all in the mix.
Properly mixing Acryl Pen is essential to successful application, so be sure you get it right! The first step is to mechanically mix Component A, making it a priority to avoid incorporating air bubbles. Next, take Component A and mechanically mix it with Component B for approximately two minutes.
6. Roll out.
For best results, Acryl Pen should be applied with a roller applicator equipped with a 3/8 inch (10mm) nap cover. It is highly recommended to back-roll the product to achieve an even coat, uniform coverage and better penetration.
7. Give yourself an edge.
Always keep a continuous wet edge when working Acryl Pen to avoid unsightly streaks on finished surfaces.
8. It takes two.
Acryl Pen is designed to be applied in two coats. A minimum of 12 hours dry/cure time is recommended between coats for best performance and adhesion.
9. Avoid excess.
Excessive surface film accumulations can reduce natural substrate skid resistance and inhibit vapor transmission, or breathing. Apply at the recommended coverage rate, roll out runs or puddles and promptly pick up excess material from spills to avoid excess surface film, streaks or gloss. Note: If additional slip resistance is desired, broadcast Nox-Crete’s Non-Slip Additive immediately into the second coat and back roll to uniformly distribute.
10. Let it be.
For best results, stay off the treated surface! Avoid foot traffic on the area for 24 hours and heavy traffic for 72 hours, while the solvents in Acryl Pen make their way back out of the slab. Early traffic could cause blemishes and heavy items might stick! After a 72-hour window, your newly colored concrete will be ready for use.